Your tiles, in their room, in four seconds
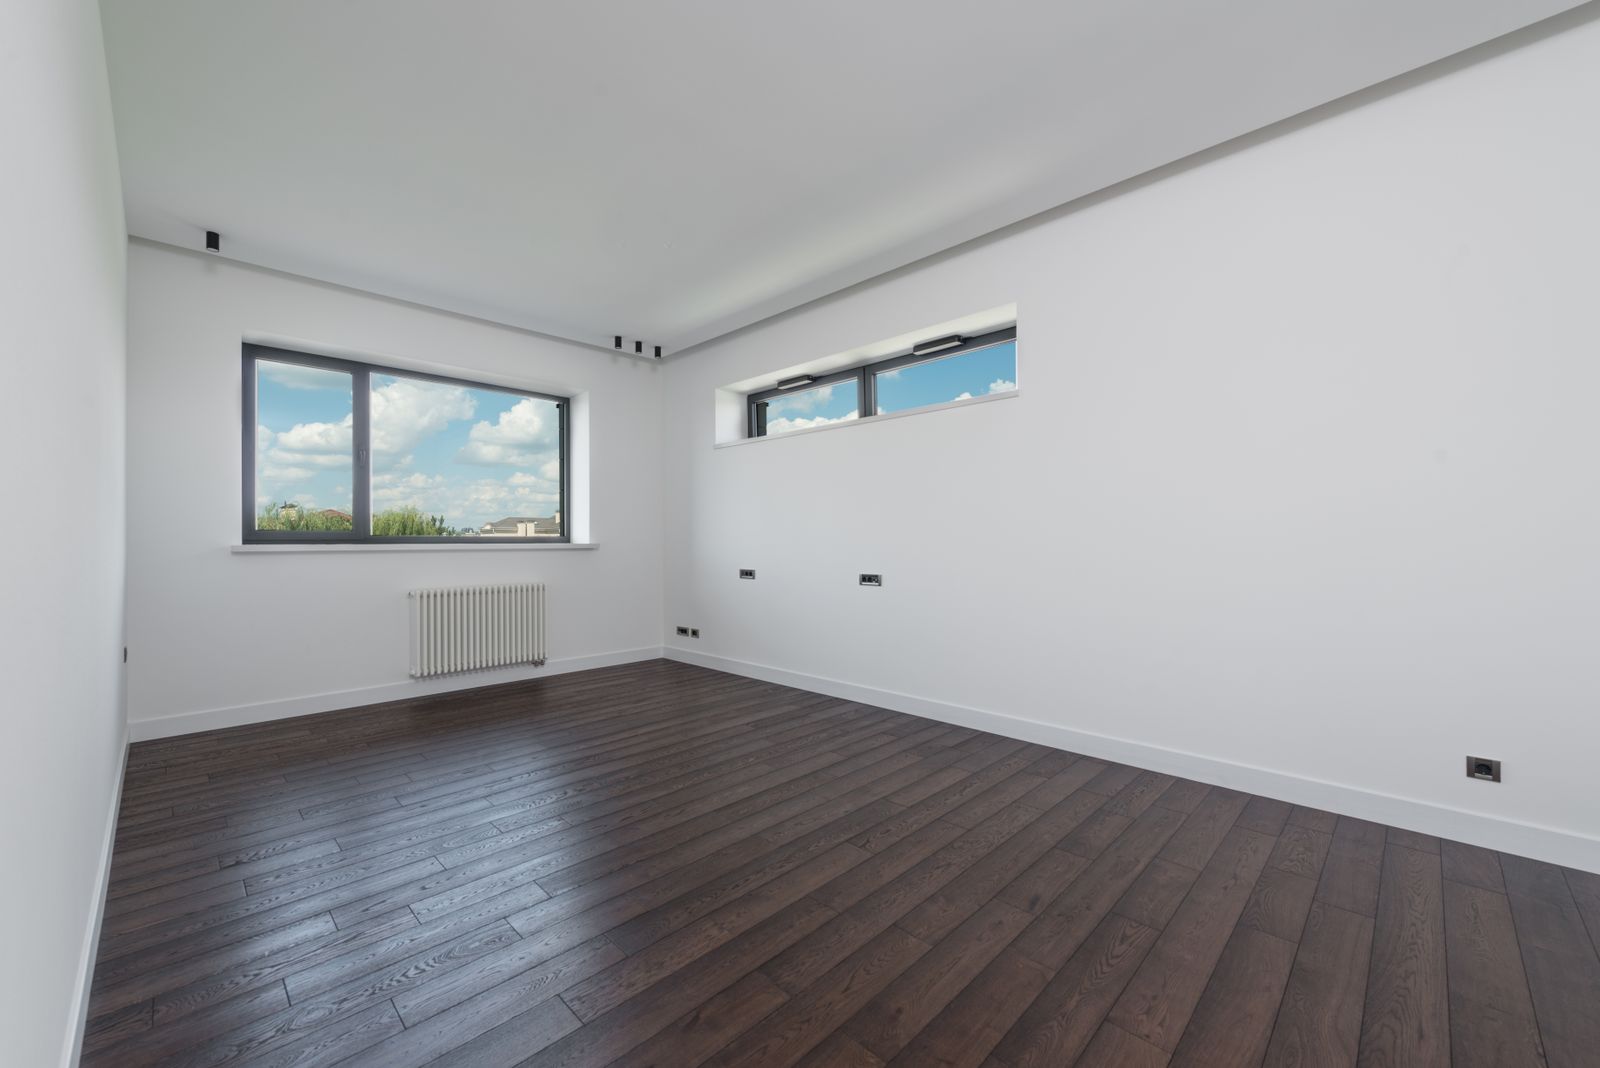
One photo from the doorway. The visualiser finds the floor and each wall as separate surfaces, then lays your tile and paints your colours onto the real space.

Photo in, surfaces out, numbers back
No markers, no measuring, no app. The whole thing runs inside your product page, under your own brand.

Tiles on the floor, your colours on each wall
Every surface carries its own pin. Tap one and the panel shows what that surface can take — your tile catalogue for the floor, your paint palette for the walls. Walls can be done one at a time or all at once.
- Pins sit on the surface itself, so there is no list to read.
- Floor gets your tile catalogue; walls get your paint palette.
- One tap paints every wall at once, or each one separately.
It says so, and says what to do
About one photo in ten isn't a room the model can read. The widget never guesses — it explains what went wrong in the customer's words and offers the fix.
- Not a room photoA tile close-up or a garden shot. We ask for a wider photo from the doorway.
- Too many photosFair-use limit per visitor. The customer is told when they can try again.
- Service busyUnder load the widget retries once, then offers the Planner as the way forward.
What changes when they can see it
40 shops · first quarter after installFour steps from sign-up to live
Detection runs on our side, so there is nothing to host — and because no photo is ever written to disk, no new data policy to write either.
- 01Create a tokenOne per storefront. It carries your branding, catalogue and settings.2 min
- 02Import your catalogueTiles and your wall palette — CSV, a feed or your Shopify collection.we do this with you
- 03Paste the snippetA div and a script tag on the product template, with the SKU attached.2 lines
- 04Switch it onPreview on a sample room first; publish when it looks right to you.same day
The Visualiser is on the Pro token.
Put your tiles in your customers' rooms
Try it on a photo of your own room first — then the settings you save are the ones that go live.